
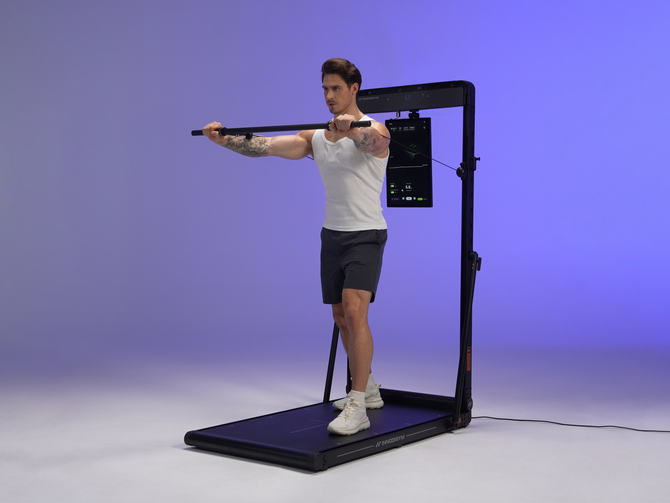
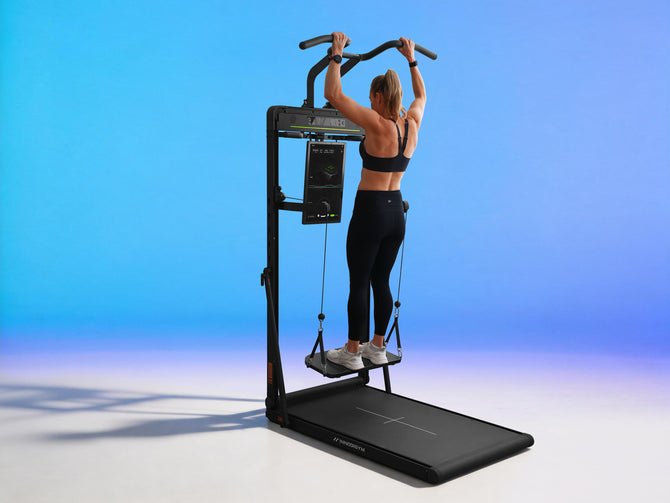
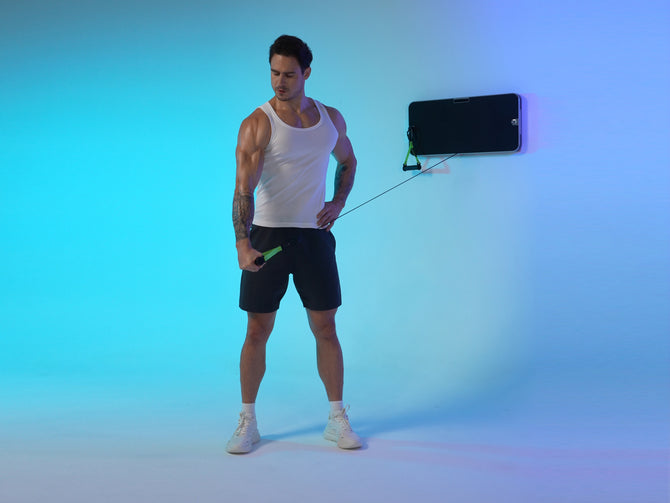
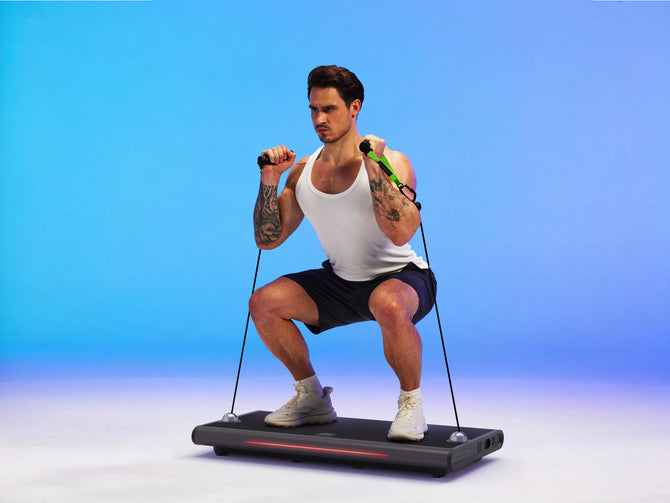
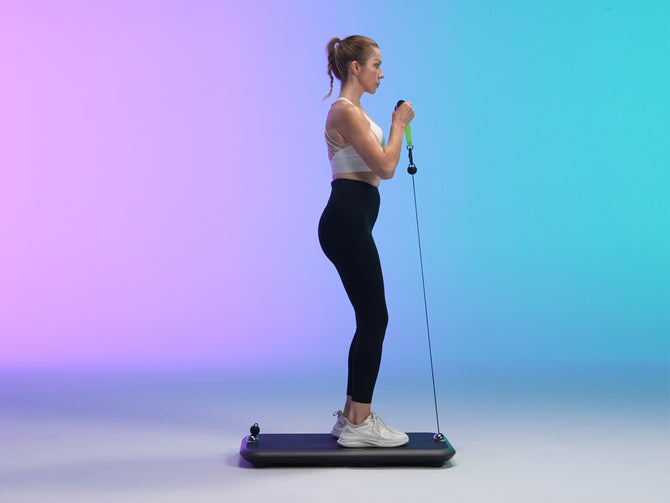
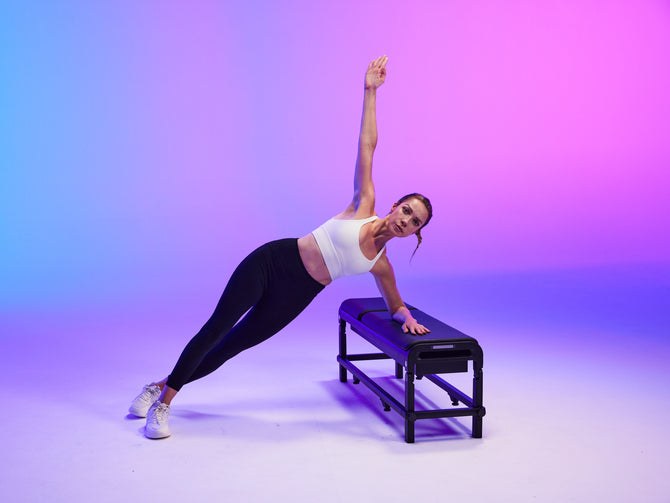


The best home gym system is the one that fits your space, supports your goals, and makes it easier to train consistently. You do not need to recreate a commercial gym at home. Start with a practical setup that matches your training needs, then build on it as your routine develops.
This guide covers space planning, equipment selection, and a manageable full-body routine. Along the way, we will look at three options in the INNODIGYM smart home gym range: P1 Lite, P1 Plus, and P1 Max, so you can compare their resistance ceilings against your goals.
1. Start With Your Goals, Not Your Equipment List
Before buying equipment, decide what you want your home gym to help you do. A beginner building a consistent routine may need a different setup from an experienced lifter looking for heavier resistance.
- Getting started: prioritize a setup that suits your current ability and is practical to use regularly.
- Building strength: consider the resistance you need today and the room you want for progression.
- Sharing a workout space: account for each person's training needs, as well as storage and usable floor space.
Write down your preferred exercises before shopping. This gives you a clear way to compare equipment instead of collecting features you may rarely use.
2. Measure Your Space Before Choosing a Home Gym System
Measure more than the space where the equipment will sit. You also need room to move, access attachments, and get into position comfortably.
- Check the equipment's dimensions and the operating clearance specified in its instructions.
- Allow for your full range of motion, including overhead and floor-based movements.
- Consider the floor surface, nearby furniture, storage, and access to power if required.
- If you share the room with a home office, plan how to keep walkways clear between sessions.
The INNODIGYM collection positions the P1 range as a compact approach to digital strength training. Still, check the individual product's dimensions and setup requirements against your room before deciding. A compact footprint is only useful if you also have enough space to exercise.
3. Choose Your INNODIGYM P1 by Training Needs
One useful starting point is the resistance ceiling. The P1 collection offers three levels, giving you a concrete way to narrow your shortlist. Maximum resistance is a capacity specification, not a recommended starting load.
P1 Lite: An Entry Point Into Digital Strength
The INNODIGYM P1 Lite is listed with up to 132 lbs of total resistance, or 66 lbs per side. The collection presents it as an entry option for digital strength training and compact setups.
Consider P1 Lite if you are getting started and its resistance range fits your planned exercises. Before choosing, check the selected package's accessories and whether it supports the exercise configurations you intend to use.
P1 Plus: More Room for Progression
The INNODIGYM P1 Plus increases the listed maximum to 198 lbs total, or 99 lbs per side. The collection positions it for household training with room to progress.
If P1 Lite's resistance ceiling may be limiting for your goals, P1 Plus is the next option to compare. For a shared home gym, assess each person's exercise needs rather than choosing on the maximum number alone.
P1 Max: A Higher Resistance Ceiling
The INNODIGYM P1 Max is listed with up to 331 lbs of total resistance. The collection positions it for heavier training and strength progression.
Consider P1 Max if a higher resistance ceiling is a priority in your equipment search. Match its specifications and available accessories to your actual routine, and remember that a higher maximum does not mean you need to train heavier in every session.
A practical way to choose: start with your exercise list, compare the resistance required for those movements, then check space, accessories, and budget. You can compare the P1 models here. Review the selected package before purchasing, as included items may differ.
4. Build a Balanced Full-Body Workout
Once you have chosen your equipment, keep your first routine straightforward. Organize your sessions around movement patterns rather than trying to include every exercise you know.
- Squat or lunge: choose a variation appropriate to your experience and equipment.
- Hip hinge: practice a controlled hinge before adding resistance.
- Push: choose an appropriate pressing movement or push-up variation.
- Pull: include a suitable rowing or other pulling movement.
- Core: select an exercise you can perform with steady, controlled positioning.
Use these categories to plan your routine, then confirm exercise compatibility in your equipment's instructions. Do not assume that every P1 model or package includes the attachments needed for every movement.
A Simple Session Framework
Begin with a warm-up and easy practice repetitions. Select a lower-body exercise, a push, a pull, and a core movement that fit your ability and equipment. Use resistance you can control, rest as needed, and finish before fatigue causes your technique to break down.
5. Make Progress Easy to Track
Keep a simple record of your exercises, resistance, repetitions, and how challenging each session felt. A repeatable routine makes it easier to notice improvement; a notebook is enough to get started.
When an exercise becomes easier at the same workload, consider a small progression while maintaining control. That may mean another repetition or a modest resistance increase within your equipment's limits. Change one variable at a time so you can judge how you respond.
This is also why choosing an appropriate resistance ceiling matters. Compare P1 Lite, P1 Plus, and P1 Max with your longer-term training plans in mind, without paying for capacity solely because it is available.
6. Make Safety and Consistency Part of the Setup
Read your equipment's assembly and operating instructions before your first workout. Check connections and attachments as directed, keep the training area clear, and use only supported exercise configurations.
If you are unfamiliar with an exercise, seek guidance from a qualified trainer. Stop if you experience pain, dizziness, or unusual symptoms, and seek appropriate medical advice. Manageable sessions, recovery, and a realistic schedule matter alongside the equipment you choose.
Home Gym System FAQs
Which INNODIGYM P1 should I start with?
Compare your exercise needs against the listed maximum resistance: 132 lbs total for P1 Lite, 198 lbs for P1 Plus, and 331 lbs for P1 Max. Then check dimensions, exercise compatibility, and included accessories. The right starting point is the model that fits your needs, not automatically the one with the highest capacity.
Can I create a home gym in a small room?
A small room may work if there is adequate operating clearance. Measure the usable training area and check the specific model's requirements, including space for attachments and your full range of motion.
Should I choose a model based only on maximum resistance?
No. Resistance is one part of the decision. Your preferred exercises, available space, package contents, and budget also matter. Check the current product page for the configuration you intend to buy.
Build a Home Gym You Will Actually Use
A thoughtful home gym starts with a clear plan: know your goals, measure your space, and select equipment that supports your routine. INNODIGYM's P1 Lite, P1 Plus, and P1 Max give you three resistance levels to compare as you make that decision.
Ready to choose your starting point? Explore the INNODIGYM smart home gym collection and find the P1 model that fits your training plans.


